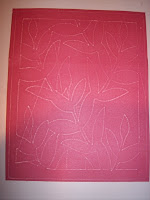
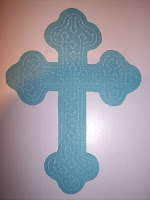
I don't know if anyone one else has thought of this, but I had this idea yesterday to try and dry emboss with my Cricut. Here's how I did it:
Supplies:
1) Cardstock with a different color core. I used Close To My Heart (Pink and white) in one example and Coordinations in another (Blue Cross).
2) Your Cricut Machine.
3) A foam matt from a Close to My Heart Stamp Set. These come with every CTMH set and help you get an even image when stamping with clear acrylic stamps. I also tried some packaging foam around the house and it was too thick.
4) A gel pen holder and gel pen. I used Amy Chomas'.
5) A fresh matt to help hold your CTMH foam in place
6) Double stick tape or painters tape to hold your cardstock on top of the foam. You could even use the hinge method, and tape it to the matt on one side.
7) A fine grit sanding block or paper.
Machine Settings
1) Speed should be slow, I used a three
2) Pressure is lowest setting on the dial. I used a one for CTMH cardstock and a 2 for Coordinations cardstock. There is no pressure adjustment for the gel pen holder.
Instructions:
1) Cut your cardstock as desired. I wanted to make an Easter Card and cut it a little bigger to trim down after the embossing (6 x 6).
2) Place the CTMH foam on your Cricut matt, smoothing it down to stick well while drawing with the pens.
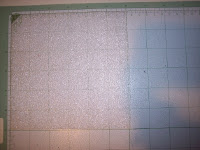
3) Place double stick tape on the cardstock on the right side of the paper, and place this on top of the foam in step 2. Again, smoothing it down. I used the wrong side so that you do not see the colored pen on the final image, but if you have a pen that no longer works, you could use it too!
4) Remove your cutting blade from your Cricut.
5) BEFRORE PUTTING YOUR GEL PEN HOLDER IN THE MACHINE, Load the paper.
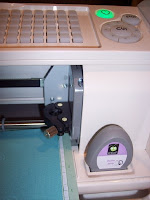
6) Still before putting in your gel pen and holder, move your blade using the arrows next to the cut button so that your blade is about 1/2" inside the cardstock edge in both the X and Y direction. This will keep the paper from tearing as the gel pen moves to start the "cut". If you are using DS make sure your image is not outside this 1/2" edge. If you are NOT using DS, use the Set Paper Size button before hitting cut.
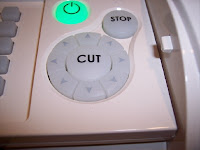
7) Put in the gel pen and gel pen holder, be sure to tighten the blade housing clamp.
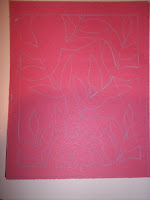
8) Check that your settings are ok for speed and pressure and hit cut. Here is a picture of the drawn image. Notice the pen color is blue (click to see bigger) and that is why I put the right side of the paper down.
9) Remove the gel pen and housing
10) Unload the paper, remove tape and sand to reveal your embossing.
For some reason blogspot.com is not letting me add pictures. Find the pictures on the Cricut Message Board Here. And feel free to email me questions (find my email address in my blog profile.

Clare,
ReplyDeleteThank you so much for sharing! :) what a clever idea!!! Your embossed images are beautiful!
-Jennifer