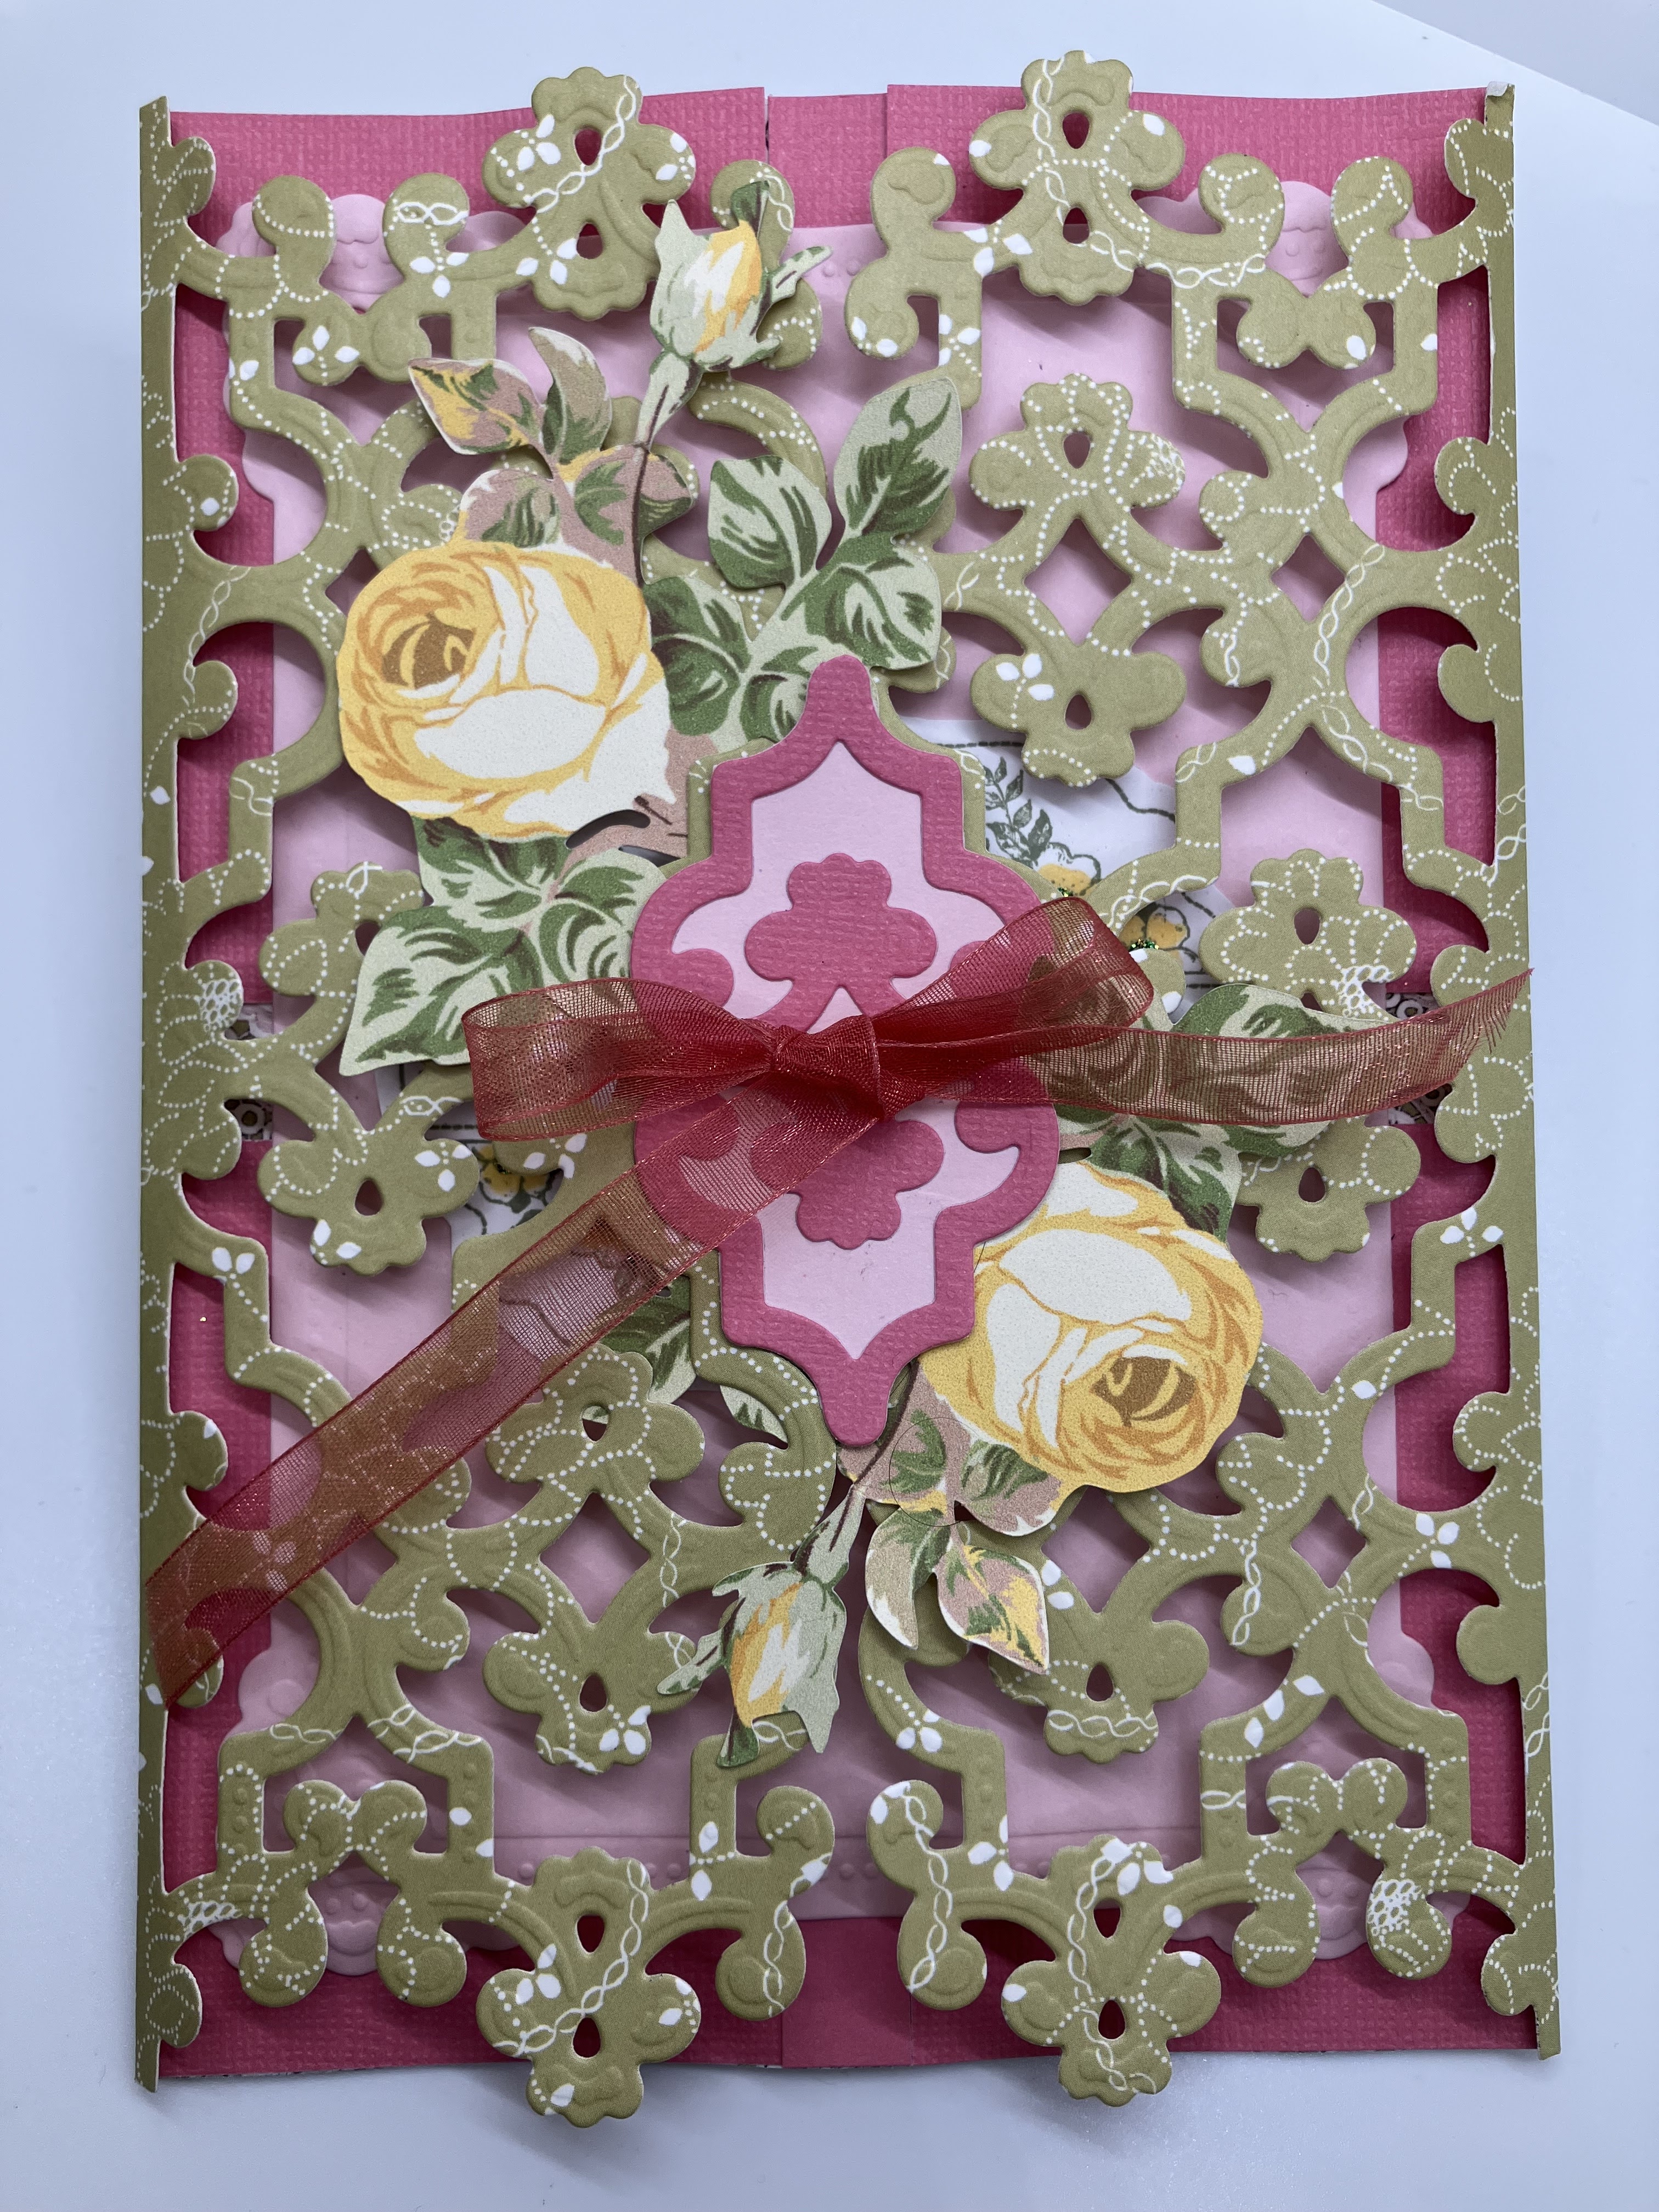
If you love this die set and can't find it anymore, be sure to stop by my eBay store and pick up one! I have one set gently used for these cards and pages, and a brand new in package just opened to confirm contents for sale.
background
Wednesday, July 16, 2025
One Die 5 Ways with Anna Griffin's Geo Gatefold Die Set
If you love this die set and can't find it anymore, be sure to stop by my eBay store and pick up one! I have one set gently used for these cards and pages, and a brand new in package just opened to confirm contents for sale.
Friday, June 16, 2023
Scrapbook Page with Altenew
Monday, June 12, 2023
I Can't Stop Creating with Altenew!
Sunday, June 11, 2023
Inspired by Altenew's June Challenge
- I can create this look with white and black paper and my ink pads. NO expensive ink cartridge for the printer. No running out of ink!
- It gave an older die a new look.
- The look is timeless! One of the things I love about Altenew is the timelessness of their designs.
Sunday, April 18, 2021
Anniversary Card with Anna Griffin and Cricut
Anna Griffin Eleanor patterned paper
Sunday, January 31, 2021
The Gift of Google Slides and Scrapbook Pages
Monday, January 18, 2021
I Miss You Card
Here is the perfect card for your Mom, a sister or a girlfriend to send in this pandemic! I can't get over the figures in the Anna Griffin paper and how perfect they match this card need in my life! I am a little obsessed with toile fabric and had to have the Anna Griffin Toile paper! So, this week, while trying to use some of my blue paper scraps, I pulled out my Cricut and Anna's Toile paper, along with sparkling paper in the blue die cut and the dew drops from the Robin's Nest. I believe the sentiment is Club Scrap, but is has been in the stash so long, I am unsure.
Friday, January 1, 2021
More Bells with Anna Griffin and Cricut
Happy New Year! I was so happy with the jingle bells page I made with Anna's Christmas Card Embellishments cartridge, that I thought I might try the other bells cut on the cartridge. So here is the page I made with the big bells. I added a circle cut at 8 inches and slipped it in and around the bells. To do so, I made one snip in the circle and threaded it through the bells cut, then glued it back together and hid the seam behind the bell cut. The glitter paper and metallic red paper are also Anna Griffin and I used white, grey and red card stock too. The holly is also AG!
Thursday, December 31, 2020
A Gentlemens' Study Christmas
Wednesday, December 30, 2020
Christmas Bells Page with Anna Griffin and Cricut
Sunday, August 30, 2020
My Own Paper Project Runway with Anna Griffin
Saturday, August 29, 2020
Faux Folk Art with Cricut and Copic Markers
I have been obsessing over folk art painting on Pinterest this week and have been wanting to try this look with my Cricut. So, last night I gave it a try and hope you like my results as much as I do.
Here is the inspiration folk art piece and the link.
I started with Cricut and cut a dark blue folk art image from the Paper Lace 2 Cartridge. I cut the light blue doily from Anna's Spendid Soirees and hit most of the cuts except the outside row. The sentiment is also Anna Griffin. I cut a plain white circle to back up the folk art cut. The dark blue leaves are cut from card stock. I used Copic markers, and a white colored pencil to color and then finished off with some Stickles, and The Robin's Nest Dew Drops.
To color the flowers and get them they way I wanted I used my Cricut Bright pad. I placed the dark blue on the bottom, placed the white paper on top and taped it using some low tack tape. Then I colored with the Copics and went a little outside the lines. I flipped this over when done coloring, so that the blue was on top and the white on the bottom.
The borders are created with SU border punches. And the light blue strip at the bottom with the blue pattern was made with an SU stamp set. I borrowed this stamp years ago at a crop and had this piece in my scrap stash.
Copics used BV00, V09m V04, B21, B32, B34, and B66.
Tuesday, August 25, 2020
Have Your Own Color Challenge
Sunday, August 23, 2020
Thanksgiving Page
Saturday, August 22, 2020
The Girls
Friday, August 21, 2020
Old School with Fabric Repurpose in a Page
I am using this summer to catch up on unfinished pages and projects. I made this page over a year ago and didn't finish it until tonight. I added the photo of "Pink," my son and Grandpa. I had some fun repurposing some fabric on this page, and cut up the front placket of an old blouse and there is even a scrap of the lace from my wedding dress lace too! My die cut is the elephant border and I had it so long, I don't know who made it!
I used a Heidi Swap stamp "Remember," dew drops from the Robin's Nest, Green rose and "Pink" by Anna Griffin. I am entering this in Cut it Up Challenge #207 Old School. Thanks Cut it Up, for helping me finish a page with a challenge!
Wednesday, August 19, 2020
Designing with Cricut DS
Saturday, August 15, 2020
Circle in a Square with Amazing Paper Grace
Anna Griffin Toile paper
Enchantment Tall Flip and Gatefold Card
Tuesday, July 14, 2020
Stained Glass Window Card with Amazing Paper Grace
Friday, July 10, 2020
Miniature Wedding Dress with Amazing paper Grace
Want to make your own Amazing Paper Grace lace dress? Here is how:
Supplies:
Plastic Dress form (Amazon)
Amazing Paper Grace Heart Melange Die
Amazing Paper Grace Timeless Grace Die
Instructions:
Construct the Bodice:
- Cut one APG Heart Melange Die for the front bodice in white card stock. Create the solid bodice lining for the front by placing the APG Heart Melange Die on white paper and tracing the outside of the die. Trim traced image with hand scissors. Add small pieces to cover the die splices (usually used for combining as directed for a floral motif) as show above.
- Cut one APG Timeless Grace Die for the Back Bodice in white card stock.Create the solid bodice lining for the back by placing the Timeless Grace cut die on back of the dress form and cutting off the bottom point so that the bodice stops at dress form waist.
- Glue the Front bodice onto the dress form, overlapping the back bodice, and glue with liquid glue. I chose to leave a cut out in the side of my bodice as I know this is a current fashion trend.
- Cut the skirt using Anna's Scoring Wheel Trick's Drapery Fold #M64DFDF8 Cricut Image at 11 1/2" Scale. Do NOT use the Scoring wheel lines, I detached them and then cut the image. Wrap around the dress form and decide how full you want skirt. Trim the circle as needed. My skirt looked like this after trimming. If you use the same dress form and scale I did, you will NOT trim anything away from the center circle as this fits the dress form well. If you don't have this cartridge, just cut your own circle 11 1/2" or 12", cut a straight line to the center and cut a small circle with a 1 1/4" in the middle. Wrap around the dress form and decide how full you want your skirt.
- Cut 7 motifs for the first layer if your skirt is like mine. You could stop here, and still have a beautiful dress with just a peplum and bodice of lace.
- Glue the first layer, and then Cover the waist with some 1/4" white ribbon gluing the raw edge underneath using the glue gun. This will hide any gaps at the waist. Gluing the waistband at this time will prevent the lace from being crushed in the second and third layers.
- I cut three layers, for the second layer use 13 die motifs and 26 motifs in the third layer. The use of more motifs, gives the skirt the flared and ruffled effect. I love this because it looks as if the dress form is twirling and dancing! Below you can see the dress with just one layer of the dies. It also looks beautiful this way too!